

HOW TO START VERMICOMPOSTING: A BEGINNER’S GUIDE
Ready to start your own vermicomposting system but not sure where to begin? Annie’s Home Farm is here to guide you every step of the way. Vermicomposting, or composting with worms, is one of the easiest and most sustainable ways to recycle food waste and enrich your garden with nutrient-rich humus.
Check here for expert tips and simple instructions on setting up your own worm composting system. You’ll learn how to choose the right worms, set up your worm bin, manage your food scraps, and harvest the rich, dark compost your plants will love. Ready to begin? Start turning your kitchen waste into valuable garden gold today!
Follow these easy instructions to get your home food recycling project off to a great start:
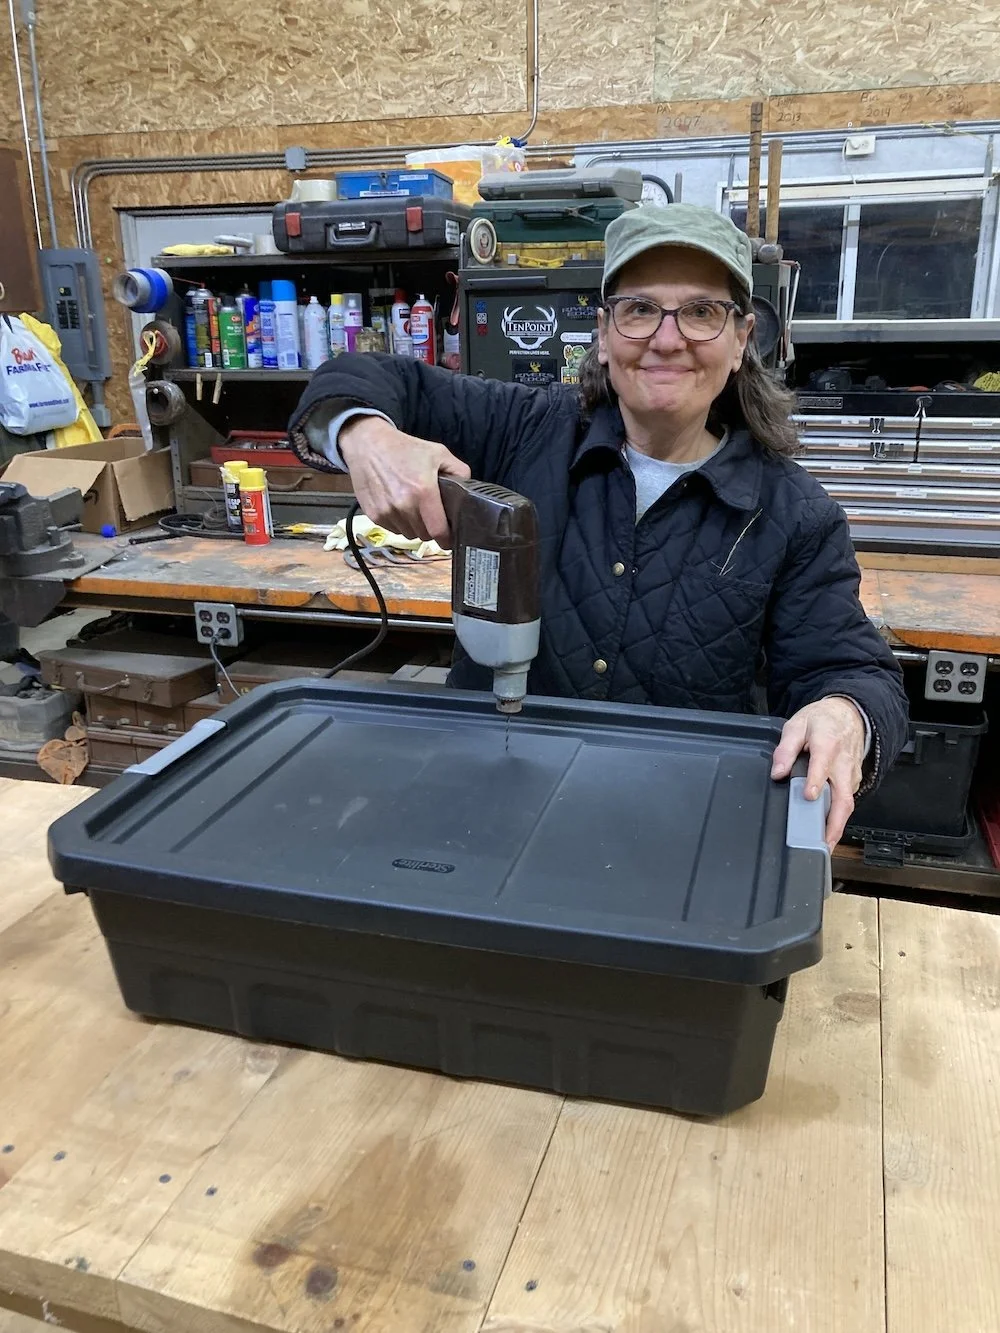
Step One: Buy and Prepare a Storage Container
Starting out, I purchased a sturdy black 18-gallon tub from a big box store. Any plastic container with a tight-fitting lid will do, but it should be at least a 10-gallon size. You can find them at Target, Walmart, Lowe's, etc. for $13 to $17. Make sure to buy a color; you don't want one you can see through. It should have a lid that fastens down well. Once you get it home, drill six 1/8" holes in the bottom. This will allow excess moisture to drain out. You also want to drill 1/16" holes through the lid, and around the top of the sides of the bin for air circulation. A dozen holes in each location will work just fine. To be honest, it was this first step that kept me from starting my first worm bin. I didn't know how to operate a power drill. So if you are like me, don't give up! Look online and order a worm bin that is all ready to go or ask someone you know to help you out. Believe me, if your friend owns and operates a hand-held power drill, she won't think drilling a few holes in a plastic tub is a big deal.
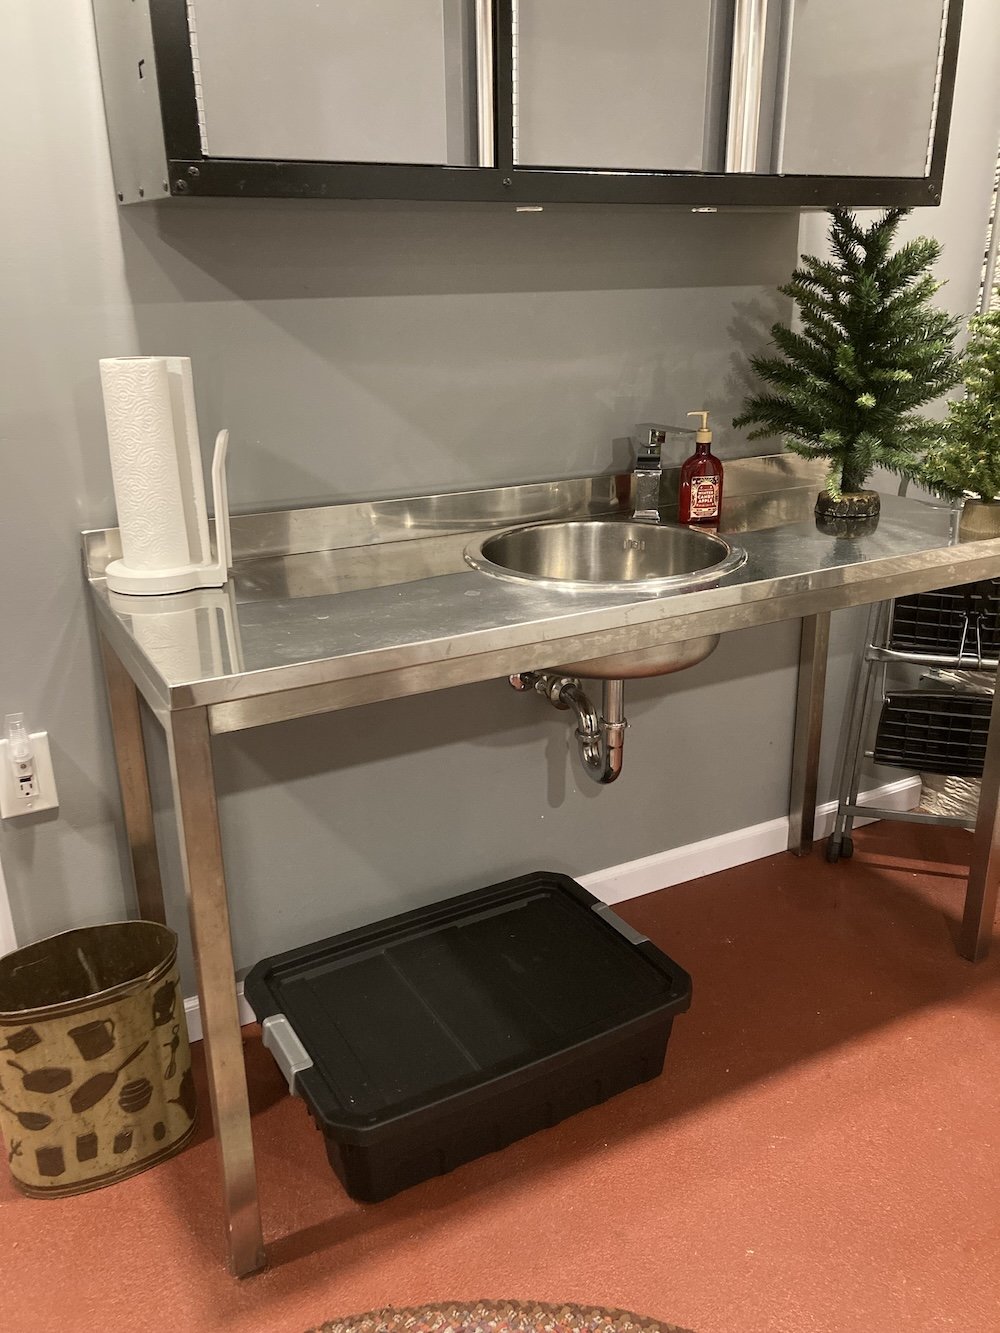
Step 2: Location, Location, Location
Decide where you are going to keep your bin. Some likely spots might be on a covered porch, an attached garage, or in the basement. A good location will protect the worms from the elements: wind, rain, and direct sunlight. In my book, the best place for a worm bin is in a basement. It stays cool in the summer and warm in the winter. If you live where it gets below 32 degrees in the winter, you are going to need to keep your bin from freezing. Be prepared to move your worm bin. I have kept worms in an outbuilding here on the farm and moved them into our basement for the winter. Worms are just like us: they can hack it in the 90's if they aren't sitting in the sun and they can tolerate the 40's as long as they aren't hit by 20 mph. winds and rain. One more thing worth mentioning here is fruit flies. My bins got them this winter, in the house, and they were prolific. Finally March arrived and it warmed up enough to move them back outside. So, if you know ahead of time that these visitors come and go, you can make better decisions on where to locate your bin. It's kind of relative to you and your family's tolerance level.
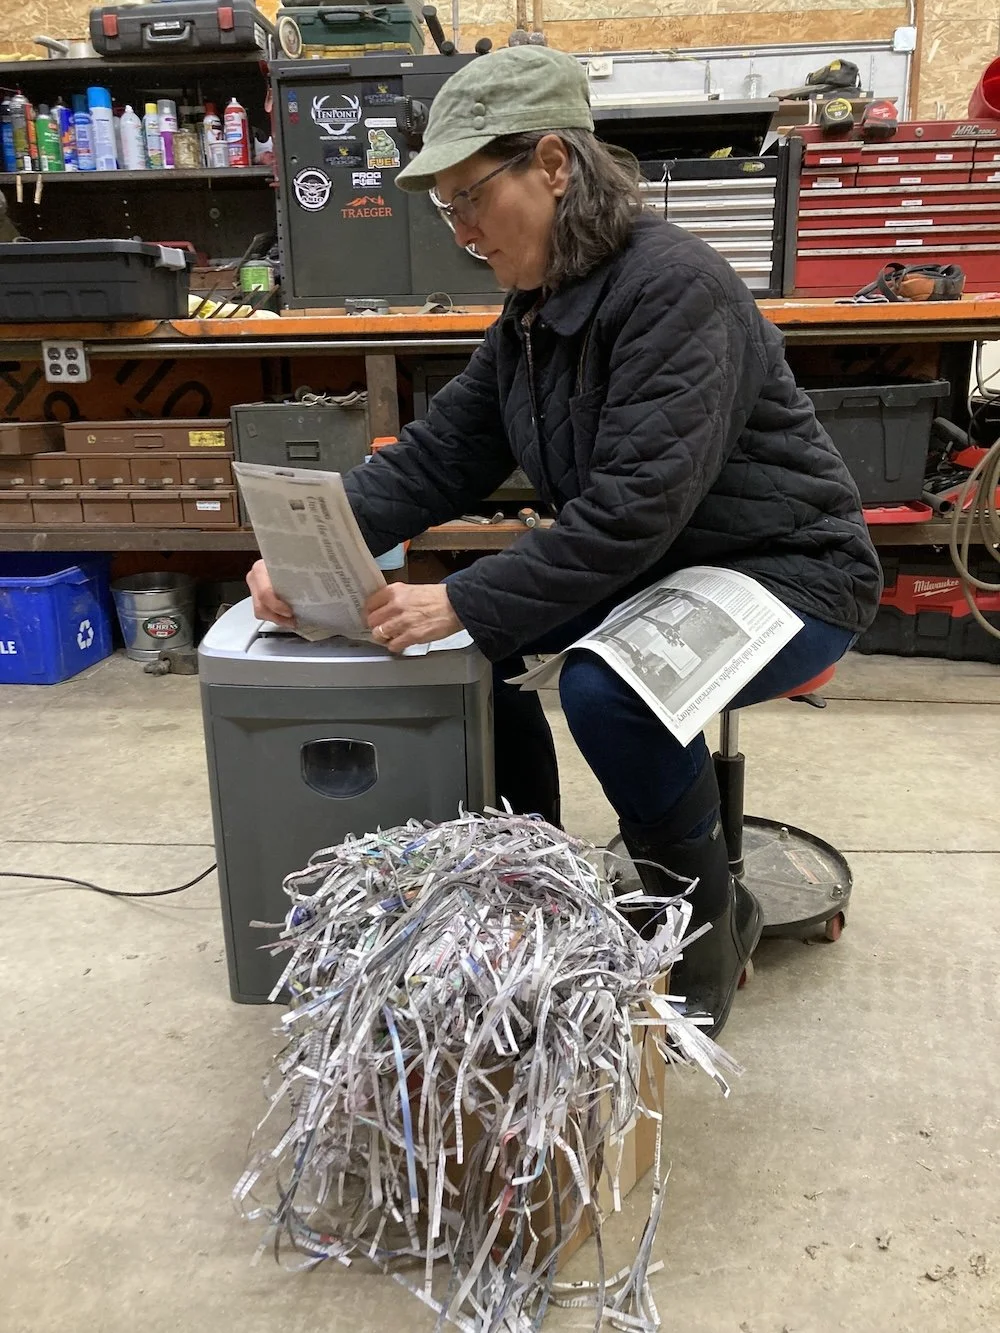
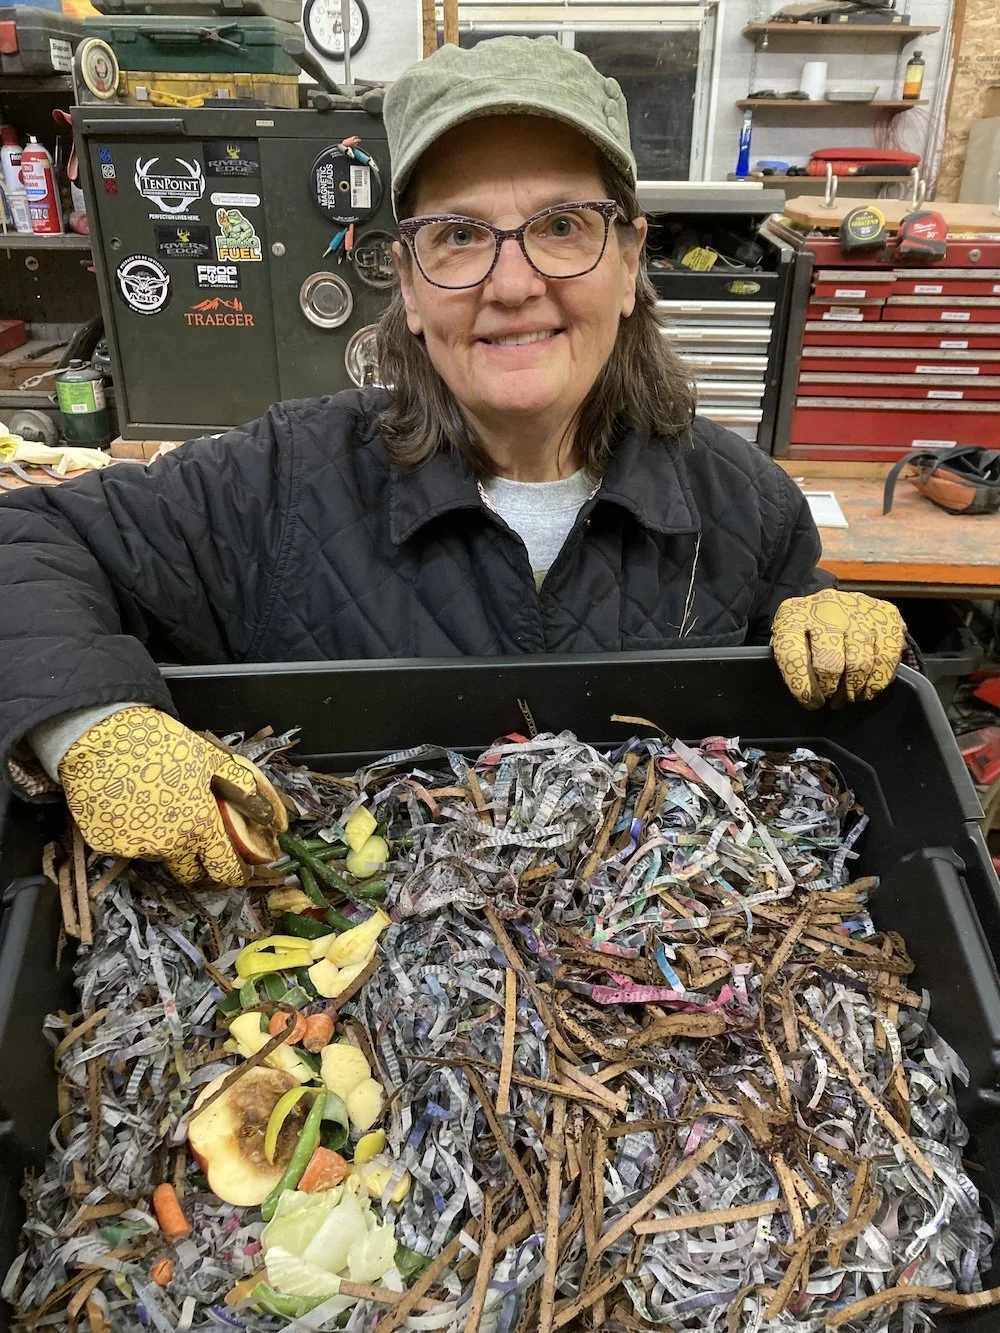
Step 3: Recycle Paper for Bedding
Worms breathe through their skin, and their environment needs to be damp to keep them safe. Because of that, you will want to get this part of your composting system set up several days before your worms arrive. Look around your home for sources of bedding: newspapers, paper egg cartons, sawdust, dried leaves from the yard, cardboard from shipping boxes. Use your paper shredder or tear materials up by hand. You will want to fill your bin about half full of this stuff, and then add a cup of water. Dig in with your hands and mix it all up. All the bedding needs to be uniformly wet. It should feel like a sponge after you've squeezed the excess water out. If water is pooling at the bottom of the bin, or water drips from the bedding when you pick it up, add some more dry bedding until it absorbs the extra water. Put the lid on your bin and let it sit for a few days. Stir it up again and check the moisture content. When you’re all done, I'd recommend having about three to five inches of bedding at the bottom of your new worm bin, and it needs to be moist enough to keep your worms happy. At the beginning, you'll want to monitor the moisture level in your bin to make sure the worms don't get too dry. You can use a spray bottle, or just sprinkle water from your fingers and mix it in. At this point, don't pour water directly into the worm bin. You run the risk of over-watering.

Step 4: Get some Grit
Add two tablespoons of sand to your bin and mix it in. It’s okay if it takes you a few days or weeks to get this part done. Just know that eventually, you want to provide this for them. Your worms need fine grit for their gizzards!
Step 5: Order Red Wiggler Worms
These little workhorses are the best composting worms! We sell them in lots of 500 or 1,000 worms. It's just Pat and me here, but one bin and 1,000 worms isn’t a big enough system to handle all the food waste our kitchen produces. That being said, your 1,000 worms could be 2,000 worms in about three months, so you will have the opportunity to raise your own worm population and expand the number of bins you need to handle your volume of organic waste material. It is good to start small because you are new to vermicomposting. When things go wrong, as they might, it's more manageable if you're only dealing with one worm bin. Experience definitely builds confidence, and it won't take you long to feel like you know what you are doing. When your worms arrive, empty them out of the bag into the home you have prepared for them. They will be in a big clump, but don't worry. They will spread out on their own. Put the lid on and leave a light on by their bin. This will encourage the worms to crawl down rather than out. Do not skip this step! Otherwise, you’ll find a bunch of dead escapees in the morning.
Step 6: Feed the Worms
After four or five days, your worms will have settled down and settled in a bit. It's time to introduce them to some food. Easy does it. A little goes a long way. Less is more. (Some helpful slogans to post by your worm bin!) Chop up 1-2 cups of raw fruit and vegetable waste. Dig a trough on one side of the bin. Lay the food in the trough and cover it with several inches of bedding. In a few days, dig down to the food. Is anyone there yet? If not, check back with them later. Eventually, you will uncover a beautiful sight: worms eating your garbage! You are on your way! When the food you gave them is mostly gone, feed them some more in a new location in the bin. Repeat this process, and you will avoid overwhelming the bin with too much food. Add more bedding from time to time, especially when you find that the bin has gotten too wet. (You don't need to moisten this bedding; You want it to absorb the extra water.) You add it on top, or you can gently mix it in. As a newbie, you'll probably overfeed your worms because of your excitement to see the system work. Putting too much food in the bin causes several things to happen. First, because fruits and vegetables are about 90% water, the bin gets soggy. Second, when there is too much food, it heats up as it decomposes. This could cause your worms to head to the lid of the bin, trying to get away from the heat. Third, if there is too much food added at once, it will turn anaerobic and that means it will smell rotten.
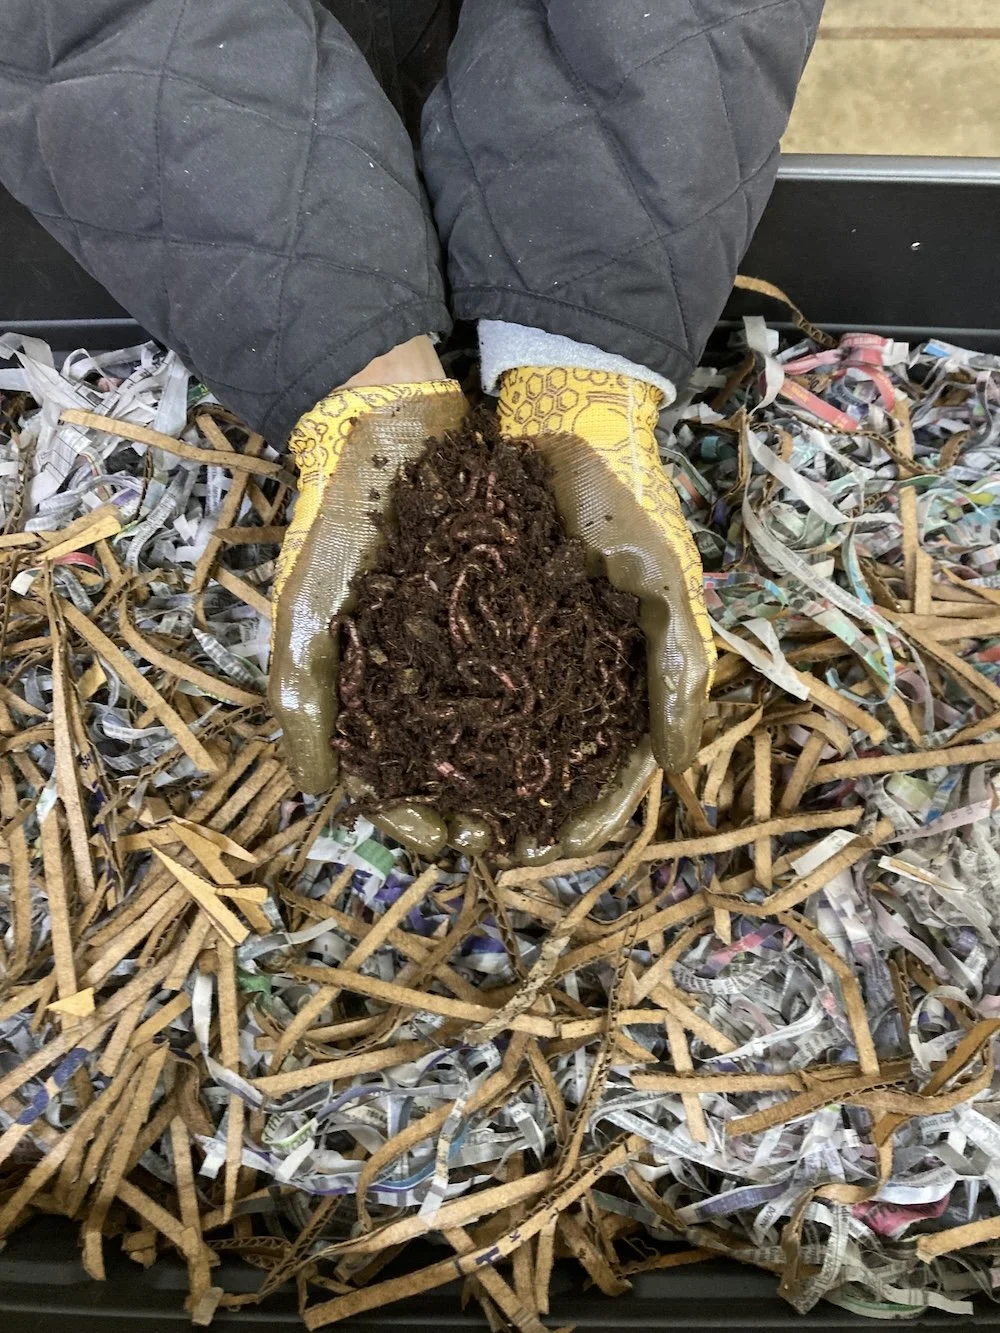
Step 7: Harvest the Worms
Anxious to get your hands on some of this magic compost your worms have been making? When will this happen? How soon will your compost be ready? In three months, your bedding will have decomposed substantially, and there will be black worm castings building up on the bottom and sides of your worm bin. This is great! Keep going! After six months or so, the tub will start to get heavy and when you open it up, it will look like there is more finished compost in there than there is bedding and worms. Time to clean out the contents of your worm bin. The goal here is to harvest the vermicast that your worms have created. But not everything will be vermicast. You are going to have not 1,000 but 2,000 worms in there, so this is when I create a second bin! You are going to have bedding material and uneaten food scraps. These need to go back into the system to get composted.
There are many methods to harvesting, but this how I hand-harvest my vermicast. First, I cover a table with a plastic tablecloth and then carefully empty the worm bin. I do this under a strong light because that light causes the worms to head to the bottom of the pile. Time to dig in! I pick up some of the finished compost and check to see if there are worms in it. I pick the worms out and put them back into the bin, along with any uneaten food or bedding. I also add 2 tablespoons of sand to each bin. Remember — worms need grit! This process takes me about two hours per bin.
Lastly, I put the finished black vermicast into a separate container. It's that simple!
You are raising animals here, and animal husbandry takes patience, a willingness to learn from your mistakes, and a caring heart. Check in on your bin once a week, and get to know this community of critters. No two worm bins are alike, and it's fun to discover what they like to eat.
That's how my hobby became my farm!